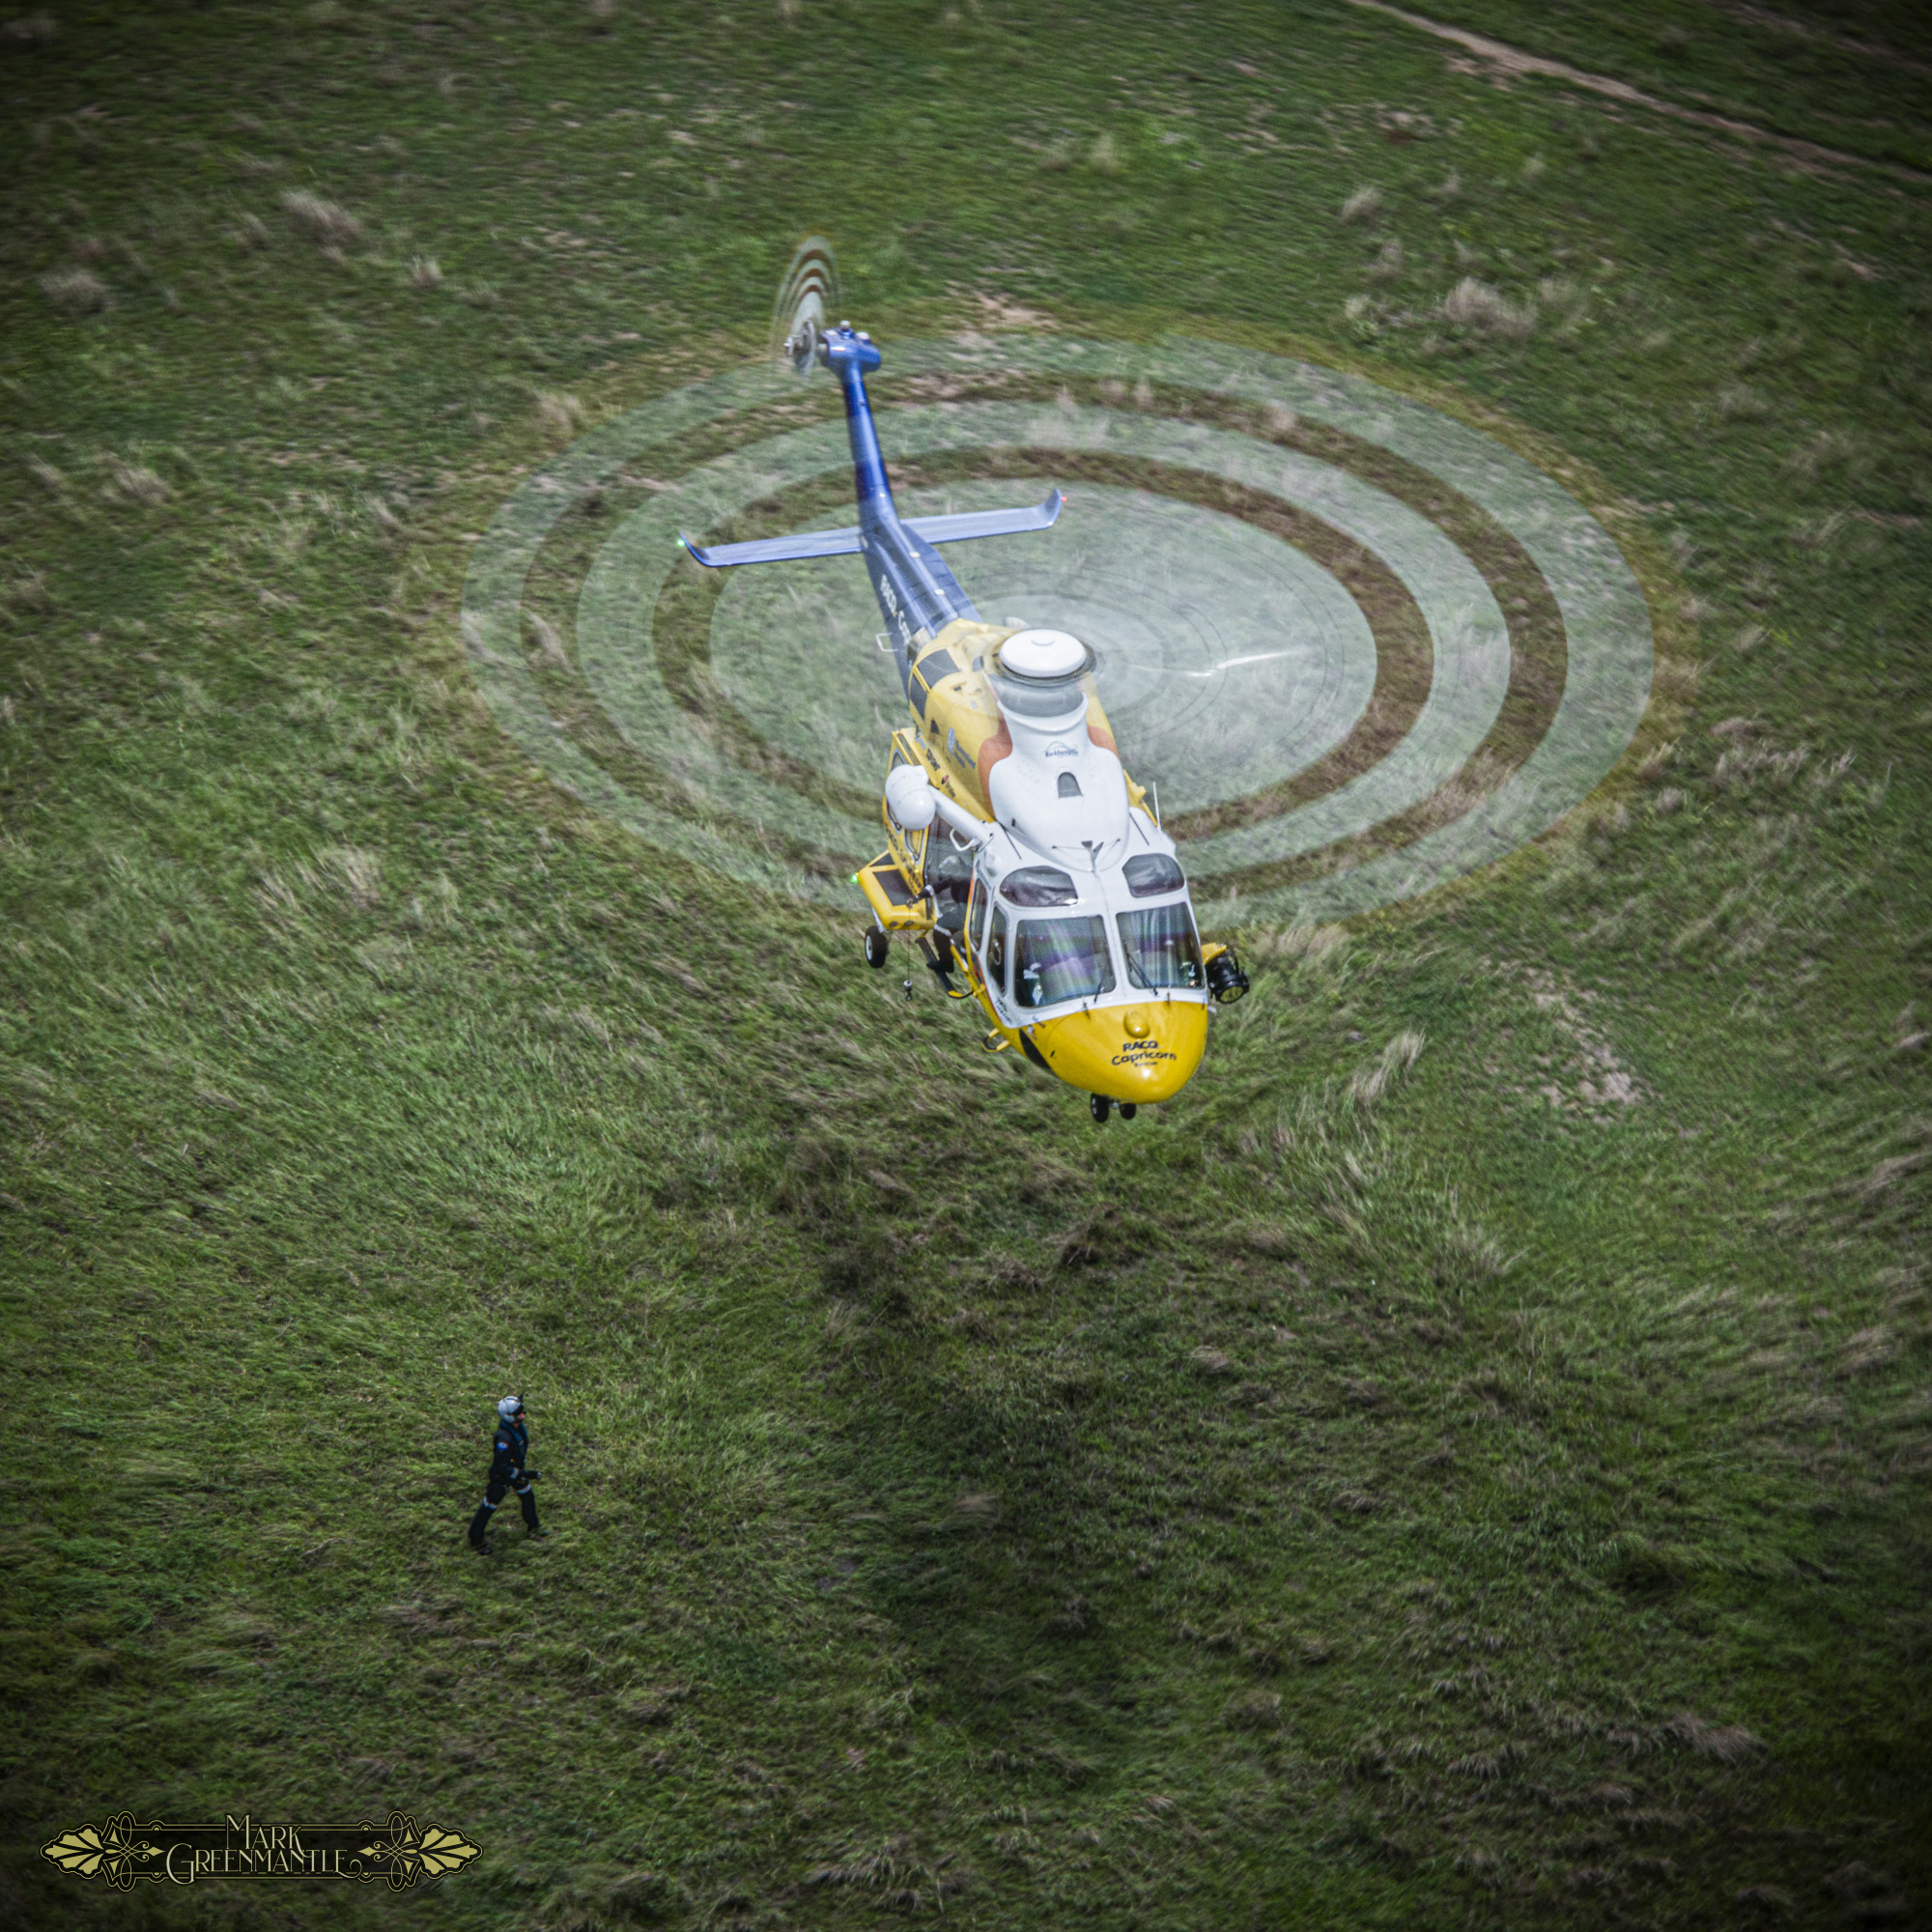
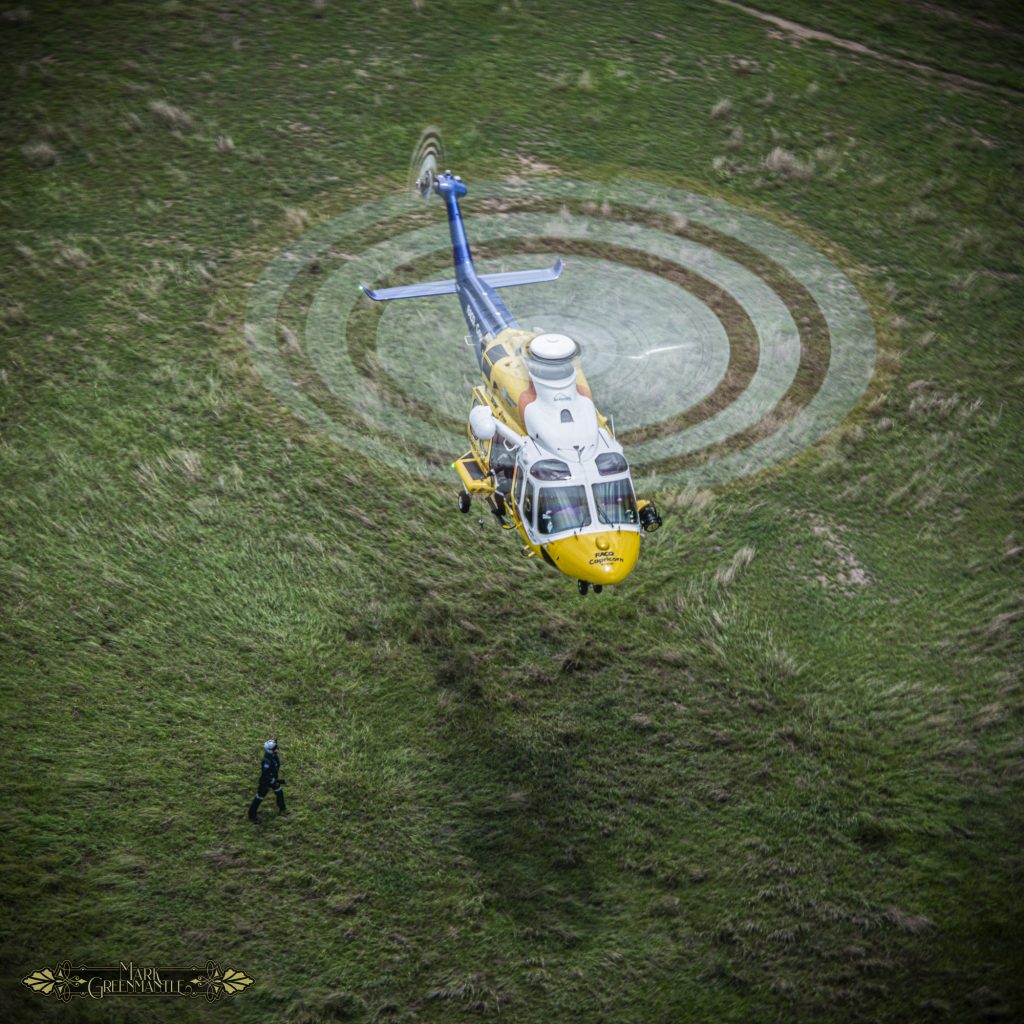
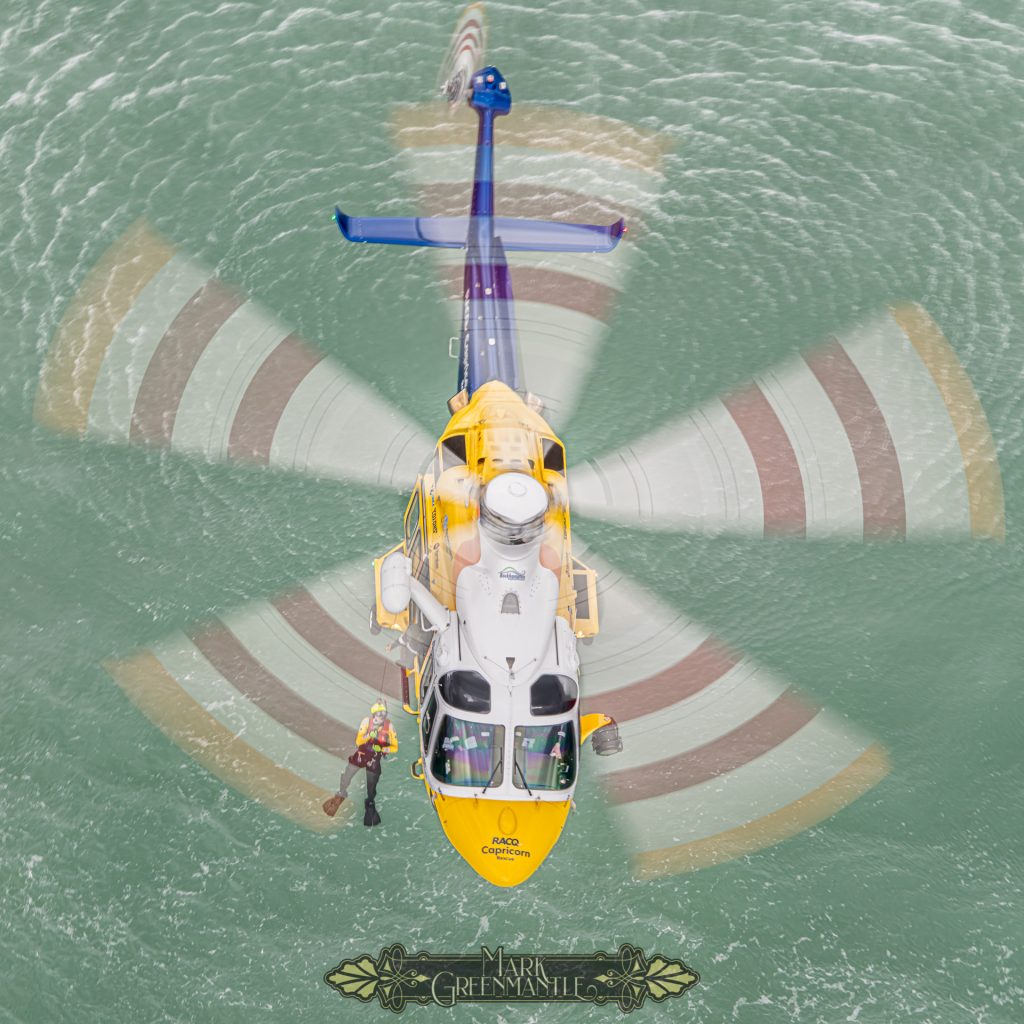
Above you’ll see the RACQ CapRescue helicopter photographed from another rescue helicopter hovering close by. It featured in my RACQ CapRescue post here. Note that you cannot make out the individual helicopter rotor blades. This a major goal of professional aviation photographers.
The reason is this, high speed shutters show only a very still rotor blade which give the impression in a still photo that the helicopter is simply hovering static with nothing spinning. It’s unnatural to the point that communities of photographers joke that those are the “mid-air emergency shots“.
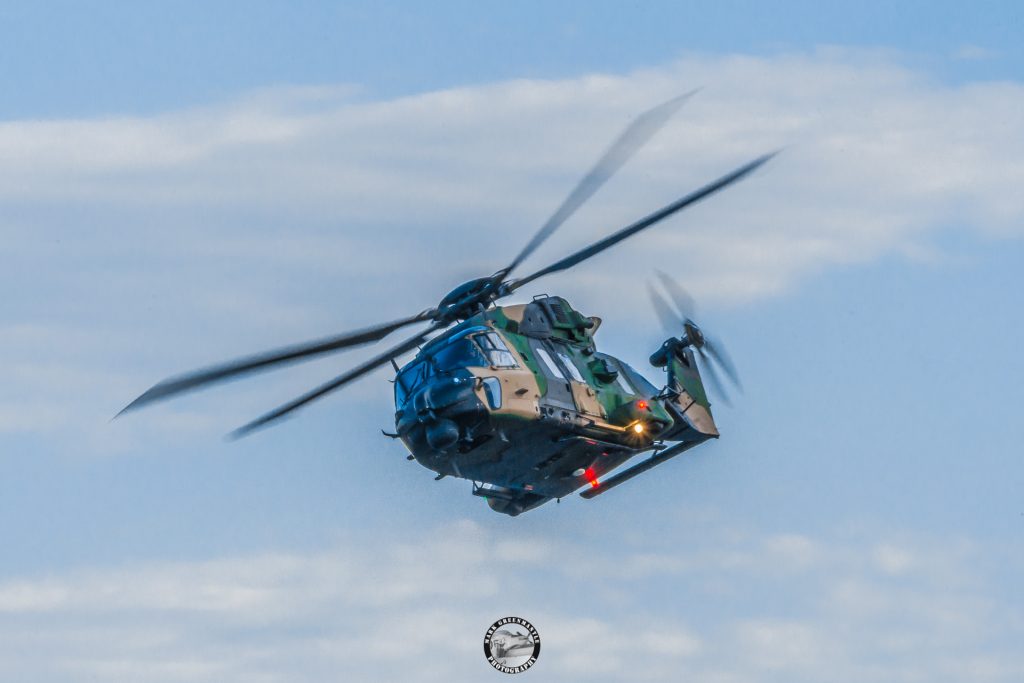
Here’s an image of one of the recently retired MRH-90 Taipan multi-role helicopters with the Australian Army. I captured this image over a decade ago and today this isn’t up to my current standards. Why?Because the blades are still, or at best, only very minor blur from movement.
Compare that to the first air to air capture of the rescue helicopter. The results are clearly showing the need to keep shutter speeds slow enough to get sufficient rotor spin. However first, a disclaimer. It’s important to see if this is a goal worth chasing or where you’re needing a faster shutterspeed. That may be purely due to the dynamics of the actions in your capture.
Now, to best explain why there’s a caveat on if you should do a slow exposure shot, here’s a rule that in “NORMAL” photography, people take as a standard to ensure they’re not fudging all their shots.
Rule one: Your shutter speed should be inversely proportionate to the focal length.
Which means that if you’re shooting a 24mm focal length, you can typically safely hand hold that lens as slow as 1/24th second. If you’re shooting a 500mm lens then you should have a shutter speed no slower than 1/500th second.
However in sports, especially motorsports and in aviation with any aircraft that has rotors or a propellor, apply rule two.
Rule Two: toss rule one out the window.
When chasing rotor aircraft or aircraft with propellors, no matter which focal length you use, you have to balance the needs to capture overall movement of the aircraft with sharp clarity of lines and detail where it’s wanted and the desire to get rotor blur. So image two above was showing far less rotor blur because the MRH-90 was doing a high speed pass.
There was no way to apply 1/25th second shutter speed to get sharp edges while panning its pass. For image one however, our rescue helicopter slowly passed the hovering AW139 below in a steady breeze and using very controlled breathing, keeping my weight on my feet to reduce the seat shake transferring to the long lens, it was possible to capture a series of images with full disk rotor and sharp details on the fuselage.
My Nikon EXIF from the capture is pasted below, however the focal length was 180mm and the exposure time was 1/25th. This smashes Rule One as that calls for 1/180th minimum shutter speed.
Because we had patchy but heavy cloud cover moving, I stuck with shutter priority exposure programs so I dialed in the 1/25th exposure duration and let the camera choose the aperture to match, in this case f/22.
Make – NIKON CORPORATION
Model – NIKON D850
ExposureProgram – Shutter priority
ISOSpeedRatings – 100
DateTimeOriginal – 2021:11:18 12:05:35
ShutterSpeedValue – 1/25 seconds
ApertureValue – F 22.00
ExposureBiasValue – 1.33
MaxApertureValue – F 5.66
MeteringMode – Spot
ExposureMode – Auto
White Balance – Auto
FocalLengthIn35mmFilm – 180 mm
Lens Model – 28.0-300.0 mm f/3.5-5.6
Another image from this series is seen below also at 1/25th sec.
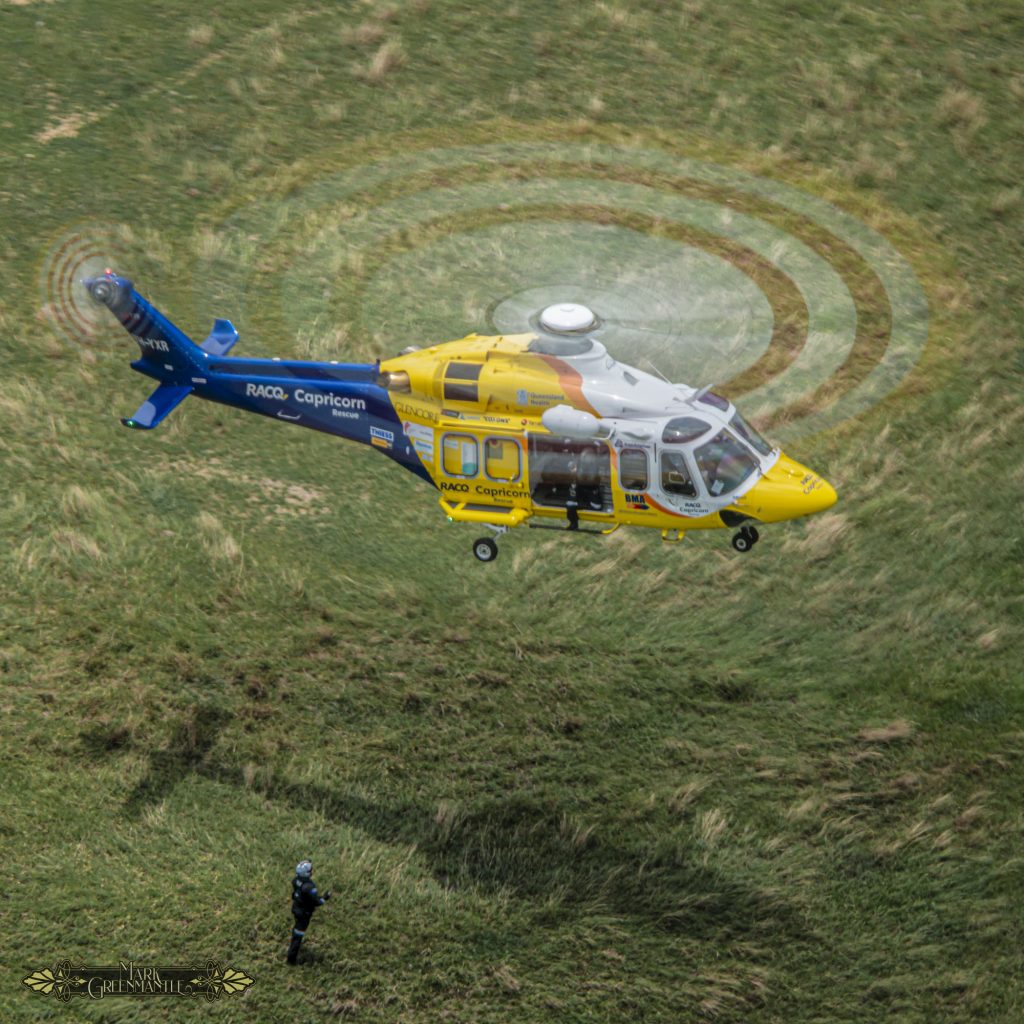
Don’t forget, you don’t have to sit at the extremes of shutter speed. You can find a happy medium which gives you ample rotor blur to show it’s definitely spinning, while keeping other movement balanced. The below image had to capture like this because we were flying circles around the AW139 with a steep bank to keep our own rotor wash from causing direct downwash on their helicopter. This technique for air to air imagery is a must with close helicopter formations. Safety first. This exposure was captured at 1/50th second. It’s a great balance of the two needs.
You need to practice shooting moving objects with slow exposure speeds to develop the muscle memory to track them without shaking the camera or spinning the angle away from the direction it is moving. Air to air photography isn’t the best place to practice this, not at $3000/hr fuel costs plus crew costs for each helicopter in a commercial shoot. Go chase cars and civil aviation from the ground to practice first. If you really must dive in, consider the options of hiring a 6×6 Kenyon Gyro Kit. They’re not cheap to buy.
You’ll love my photoshoot with RACQ CapRescue helicopter
[…] For a how-to of capturing the full disk rotor images, click here. […]